Pages

Wednesday, May 26, 2010

No Guts No Glory

The series of pics to follow is what i would call "No Glory Photography" ... there's nothing fun or "wow" about these ... but they'll give you a nice progression of the work that's being done to transform the ugly ducklings to the beautiful swans they were meant to be :O)

________________________________________

What kind of primer do I recommend?   
Kilz2 Latex Primer ... it's the best.

 
It covers stained wood and knots in wood ... and gives your piece the "tooth" it needs for a great paint job.  Because the cabinets are stained a dark 70's finish ... I'm going to prime these puppies twice ... not fun ... but necessary!

You can pick this product up at a local home improvement store ... but you can also get it cheap at Wal-mart :O)


The cabinet below will be one of two lower cabinets that will shoulder the butcher-block counter top ... the other lower cabinet is 12 inches wide with 1 drawer and 1 door.  The knee-hole between the two units will be approximately 18"-23" ... depending on the placement of the lowers along the wall.  We want to be able to use the phone jack and outlet that currently exists along this wall to make lap-top, phone, and charging stations accessible and efficient! 


The cabinets below will be the upper cabinets above the desk area ... we plan to leave the doors off and transform them into a upper hutch with crown molding and decorative trim ... plus, I'll pop the backs off and cover them with paint-able bead board wallpaper ... I think I'll also add the wallpaper bead board on the sides of the cabinet ... It will look old and yet very fresh and new.


Okay ... it's time for the green to go!  So we quickly painted it a favorite of mine ... 
White Sand by BM.  It immediately gave the space a fresh start.


Hubby is THE MAN!  Love those rolled up pants, babe :O)  See those lights above ... they are being removed as I write ... no kidding.  We have a friend who is an amazing electrician (he also did our finished basement wiring) and he is installing 9 recessed lights, 2 penants lights (above the bar area) and under-cabinet lighting.  Woo Hoo!  No more standing in the shadow of track lighting while cooking at the stove.  Yip-Skip-In-The-Pip.  Anyone who has 20-year-old tracking lighting in their kitchen knows exactly what I am talking about :O)


So my friend (Char) of a gazillion years gave us this IKEA counter top and we've had it in storage for 5+ years ... it is making a great make-shift counter-top until the butcher block can be purchased at IKEA ...


But there's a small problem ... the drawer won't be able to open with the window trim in the way ... easy fix ...


... remove it.  It's okay ... it would have gotten in the way of the new counter top at the peninsula/bar seating area at the other end of the window.  :O)


And here's hubby researching how to fix our little problem with trim :O)
I just LOVE THAT MAN!


What do you think ... any resemblance?  
Dan is not going to be pleased ...


Here's a painting tip ... 4" foam rollers ... they are the bomb!  Not only can you paint a fairly large surface quickly ... but the foam material allows no air bubbles AND no pesky brush strokes.  Nice.  Did you know they are washable and re-usable?  Double nice.


Since the picture below was taken ... we've actually decided to place the smaller lower cabinet left and place the larger cabinet right ... 2 reasons ...


the larger cabinet will hide the phone jack and electric outlet (there's something not right about seeing all those power cords plugged in -- and there will be many) ... so ... the larger cabinet will get a section cut out on the back side which will allow us to run our power cords w/o them being seen.  In fact, I believe we'll be able to place a power strip allow the back of the cabinet ... which will allow all electronics to plug into their happy little home.


Since this picture was taken ... the upper cabinets have been ...

1.  disessembled (doors and hardware remove)
2.  back board removed and wallpapered with bead board paper
3.  primed
4.  painted
5.  installed in wall
6.  currently being trimmed with molding


This product has become a new favorite -- it goes on so easily and is much easier to paint than traditional bead board -- PLUS, the cost is crazy cheap.


We're thinking about covering the kitchen ceiling with it ... NOT looking forward to the work but I believe the end result will be fabulous :O)


I'll post updated pics soon ... but for now ... the kitchen floor beckons my attention (drywall dust is taking over our world) since the recessed lights were installed during the duration of this post :O)  

Yip-Skip-In-The-Pip  
(that rhyming stuff is going to annoy my brother-in-law and his beautiful wife)


Tuesday, May 25, 2010

Researching Counter-Top Options


Howdy!


So what do you think?


Isn't it just delicious?


This comes from Vanessa's This & That

Hasn't she done a fabulous job in
her kitchen ...

All that beadboard
and that beautiful butcher-block
and the placement of the hardware ... sweet!


___________________________________


I've been researching counter-top options

and think this might be the

choice for our desk area

in the kitchen.


And this is the best part ...


we can get it from IKEA.com for under $150! :O)
It comes in beech (shown above), birch, and oak.


Here's another inspiring pic ...


Don't Kevin & Layla do a fabulous


job @ The Lettered Cottage?


Their use of color and


their talent in transforming spaces


is so inspiring to us all!
_____________________________________


So where are my latest pics of the


craigslist cabinets?


They're coming ... I promise!


I'm happy to say ... they are looking

A M A Z I N G!


But the progress is so


SSSSLLLLLLLOOOOOOOWWWW


:O(

Do you indentify with the pain?


That's ok! Remember that's

when creativity can work it's wonders

AND

allows time for the job to be done

right!


___________________________________


It's in the 80's outside and this


body needs a little sun :O)


Thursday, May 20, 2010

No Budget Means No Moola!

A friend asked me today,

"Your kitchen redo doesn't have a budget?
Does that mean you have an endless amount
of money to spend on this project?"

And my simple reply was, "No, it is the extreme opposite."

No Budget Means No Money ...

Zip - Zilch - Nada - Nutin'

(that last one means nothing with a slang thang)


So where did I get the $75 for the craigslist cabinets you ask?


I used to sell Longaberger Baskets
(way back in the day)
and I sold them in a back alley
to someone through craigslist ... go figure :O)

But do you want to hear the best part?

This is when design, budget and desire come
to a big fat head!

What? Big fat head?

What does that mean?

It means ...

Creativity kicks in ...

Dan and I did a little digging and learned
about a new product introduced to us by ...

TheLetteredCottage


Paintable Beadboard Wallpaper ...


you can find it here!


After reading the reviews ... we decided
to try this on our "new" cabinets.


Real beadboard can be difficult to install and
I've mentioned before, a pain in the too-too
to paint :O)

So ......

stay tuned for some new pics of those
cabinets that needed a little lovin'

(I'll give a play-by-play of how I used this product on the old cabinets)


Until then, may your limited budget
give you freedom to be creative!


Wednesday, May 19, 2010

Goin' Craigin'

Salutations!

We've been busy, busy, busy here at our cottage in the making!


In order for us to achieve this ...


San Carlos Residence Two contemporary kitchen


we needed to scrounge up a crazy-amazing deal on craigslist ...

I'm happy to announce -- the deal was found :O)

Woo Hoo!


My dear friend, Dana,
along with the help from her dear ol' hubby ...
we hauled my loot on their handy-dandy trailer!


Yee-Haw!


I got these puppies for $75 ...

don't get me wrong ... I see their flaws ...
but with some TLC ... molding and paint ...
these cabinets will sing!

Sing!


So how do we go from this ....


to this ...

San Carlos Residence Two contemporary kitchen


Stay tuned ... the fun is just beginnin'

:O)


-- Oh, here's a quick painting tip --

Instead of using paint stirrers for paint history

KEEP YOUR PAINT CAN LIDS!


They instantly give you ...


1. the date it was mixed
2. where it was mixed
3. the recipe
4. what base was used
5. and flip it over ... viola ... the color!


I've save a lot of time by keeping my lids :O)


Happy painting my friends ...


Friday, May 14, 2010

Before I get ahead of myself ...


Want to go on a little field trip with me?

May I introduce to you the couple

who have energized me with the message ...

"you can turn something ordinary
into something extraordinary!"


:O)


They are not only talented but sooooooooo funny!
Their videos truly entertain me ...


http://theletteredcottage.net/2010/03/kitchen-re-do-2.html


so after your little journey to their southern cottage ...

come back over to Our Cottage in the Making


and see if what Layla did ... can be done


in our own cottage kitchen :O)
(I apologize for my low-quality pictures ...
I'm researching a better camera - wow are they pricey!)


So what do you think? Is it possible?


add some crown molding to the tops of cabinets


paint all trim & cabinets Decorator's White by BMPaints


new flooring (wood perhaps?)


new counter-top

(granite would be my first choice BUT a friend

told me a long time ago ...

unless your house is a "granite level" house ...

skip the cost ...

there are wonderful alternatives

out there that will give you

a "wow" look

w/o all the cost!)


some yummy new hardware (rubbed bronze?)


and updated lighting


Remember the earlier post I shared ...


the bones of a room need to be addressed first ...

accessories last ...


hmmm ... new lighting ... that's going to be messy.
But oh, so worth it :O)


Thursday, May 13, 2010

The Demo Duo

Dan (hubby) and Dave (bro)
slurpin' joe, muchin' donuts and
bringin' down da' hooouussee!


Aren't they a couple of goof-balls.

gotta love 'em :O)


Here are some before shots of the kitchen ...


So as you can see ... I've been in
"out-of-date primitive-country"

...

time to freshen things up!


This wall houses a variety of things

1. a clock
2. dry erase calendar (we live by this thing!)
3. land-line phone
4. charging station for phones & camera
5. lap-top
6. book shelves for daily items
7. sometimes my recipe books (it changes)
8. "the homework cabinet"
it's the tall piece on the left ...
it's full of wonderful items like crayons,
markers, scissors, paper,
pencil sharpener, ect.
WE USE THIS EVERYDAY!


Now that wall looks like this ...


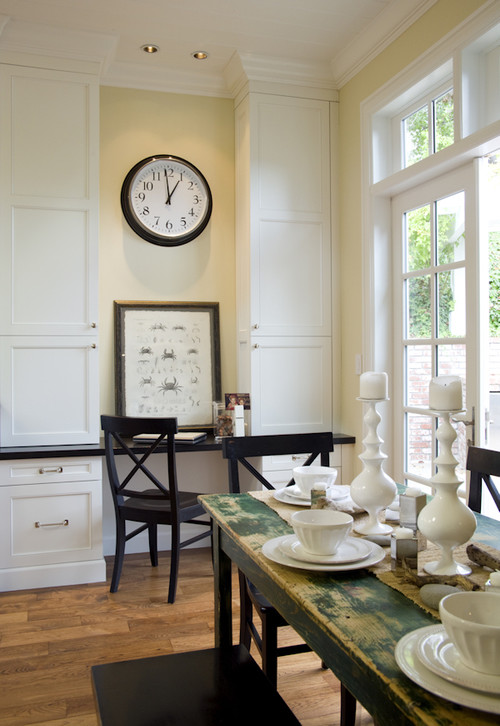
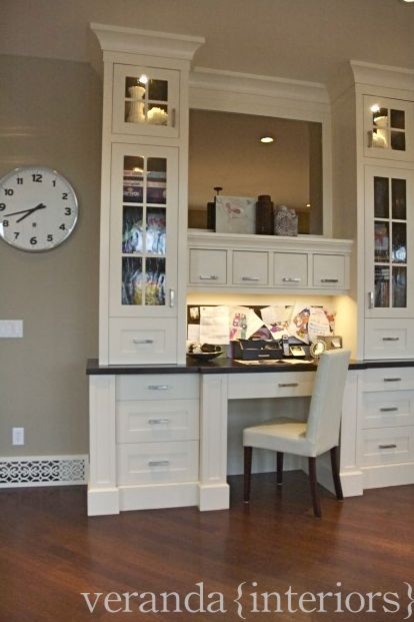
And I'm thinkin' it would look great like this ...


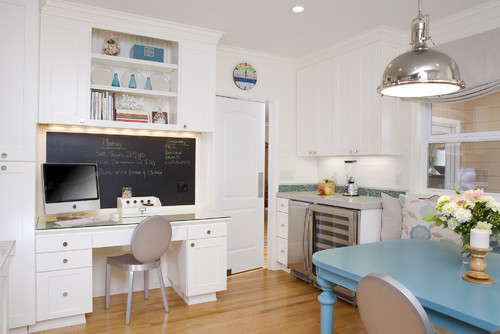
Computer desk contemporary kitchen


or this ...


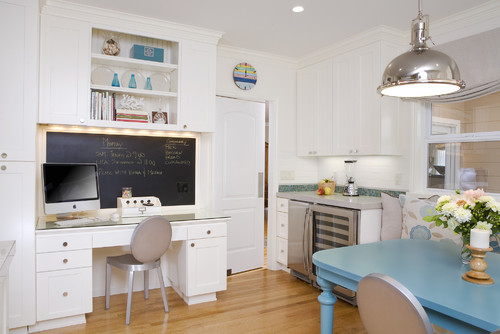
San Carlos Residence Two contemporary kitchen


or this ...


Kitchen traditional kitchen


or this ...


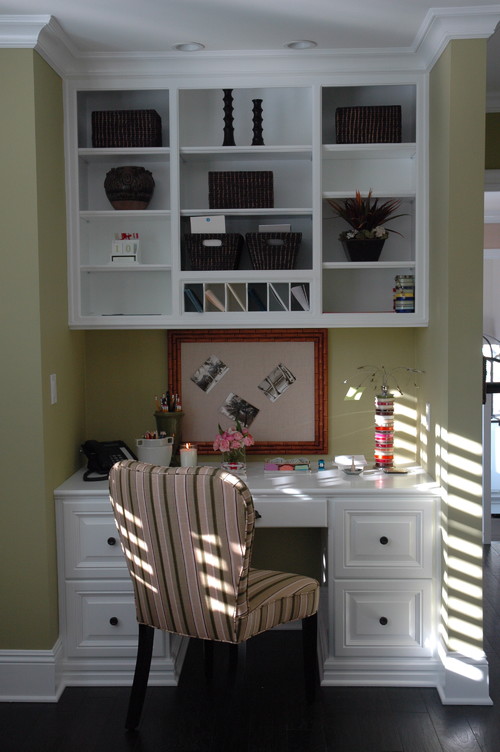
Bedroom Office traditional bedroom


or this ...


Lafayette Residence Two traditional kitchen


So you see an overall theme? Chunky trim! Lots of it ... w/ wainscoting :O)
mmmm ... delicious.

All of of these inspirations found on www.houzz.com
are great example of better space utilized.

And when you live in a cozy cottage ...
it's all about utilized space :O)


So where's the wall that was removed?


bye-bye closet ... :O)


The back hall has 4 doors!
one to the back porch (left )
one to the red bathroom (straight ahead)
one to the garage (right)
one we're peakin' through right now :O)


The hall closet had a folding door that would
get in the way every time someone wanted
to come through the garage door. It was
a matter of time before someone got their hand
slammed!


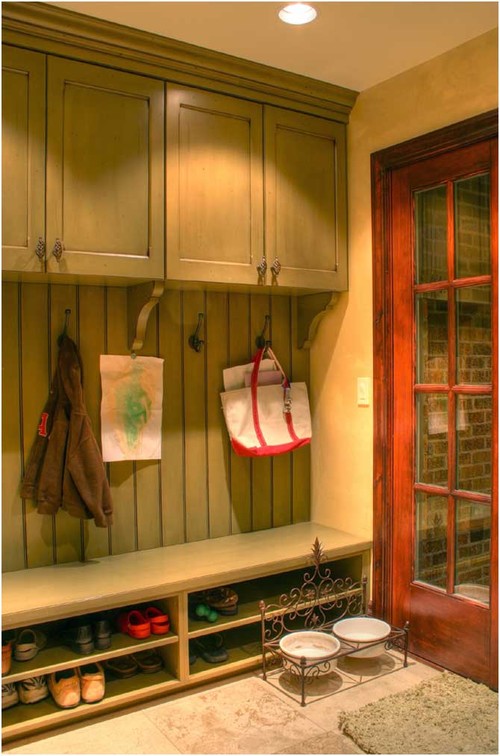
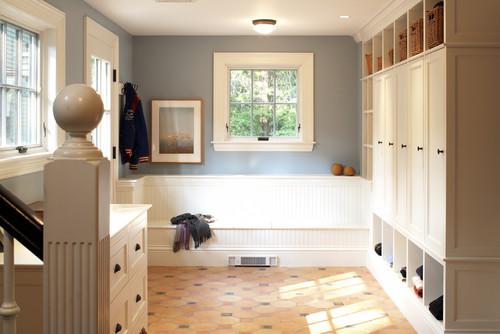
And I'm thinkin' it would look great like this ...

The Forgotten – Mud Room : Design Inspiration Blog traditional entry


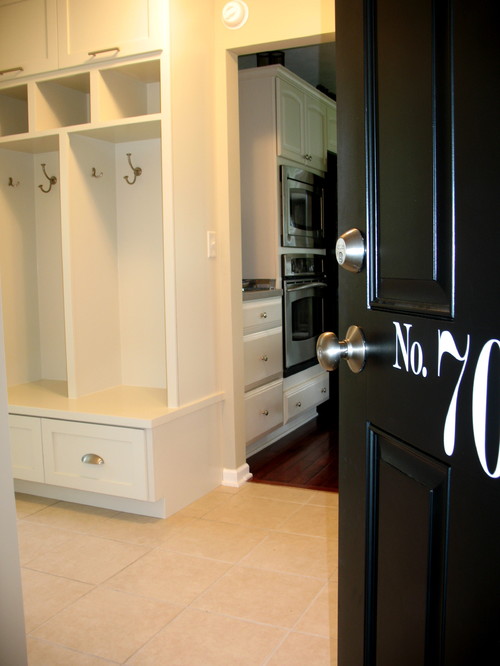
or this ...

mudroom traditional entry


or this ...

Stonebreaker Builders & Remodelers traditional laundry room


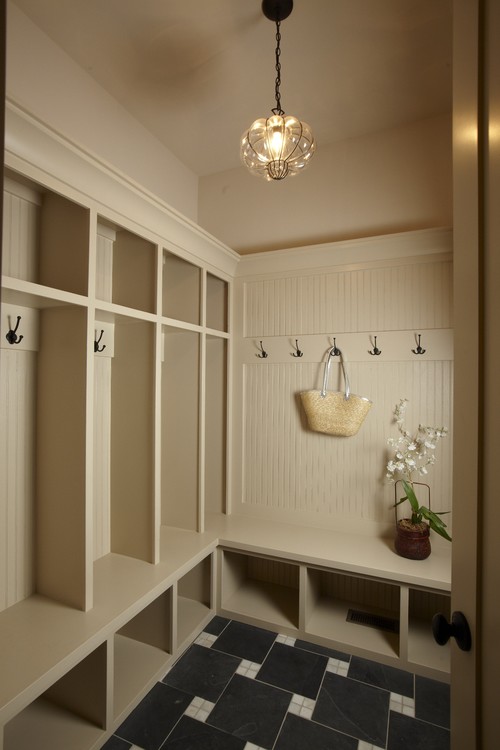
or this ...

Renovation Redux Mudroom contemporary entry


Isn't fun to dream?

Speaking of dreaming ... it's time for little miss gina
to get some zzzzzzzzzz's ...

Have fun looking at your space w/fresh eyes!